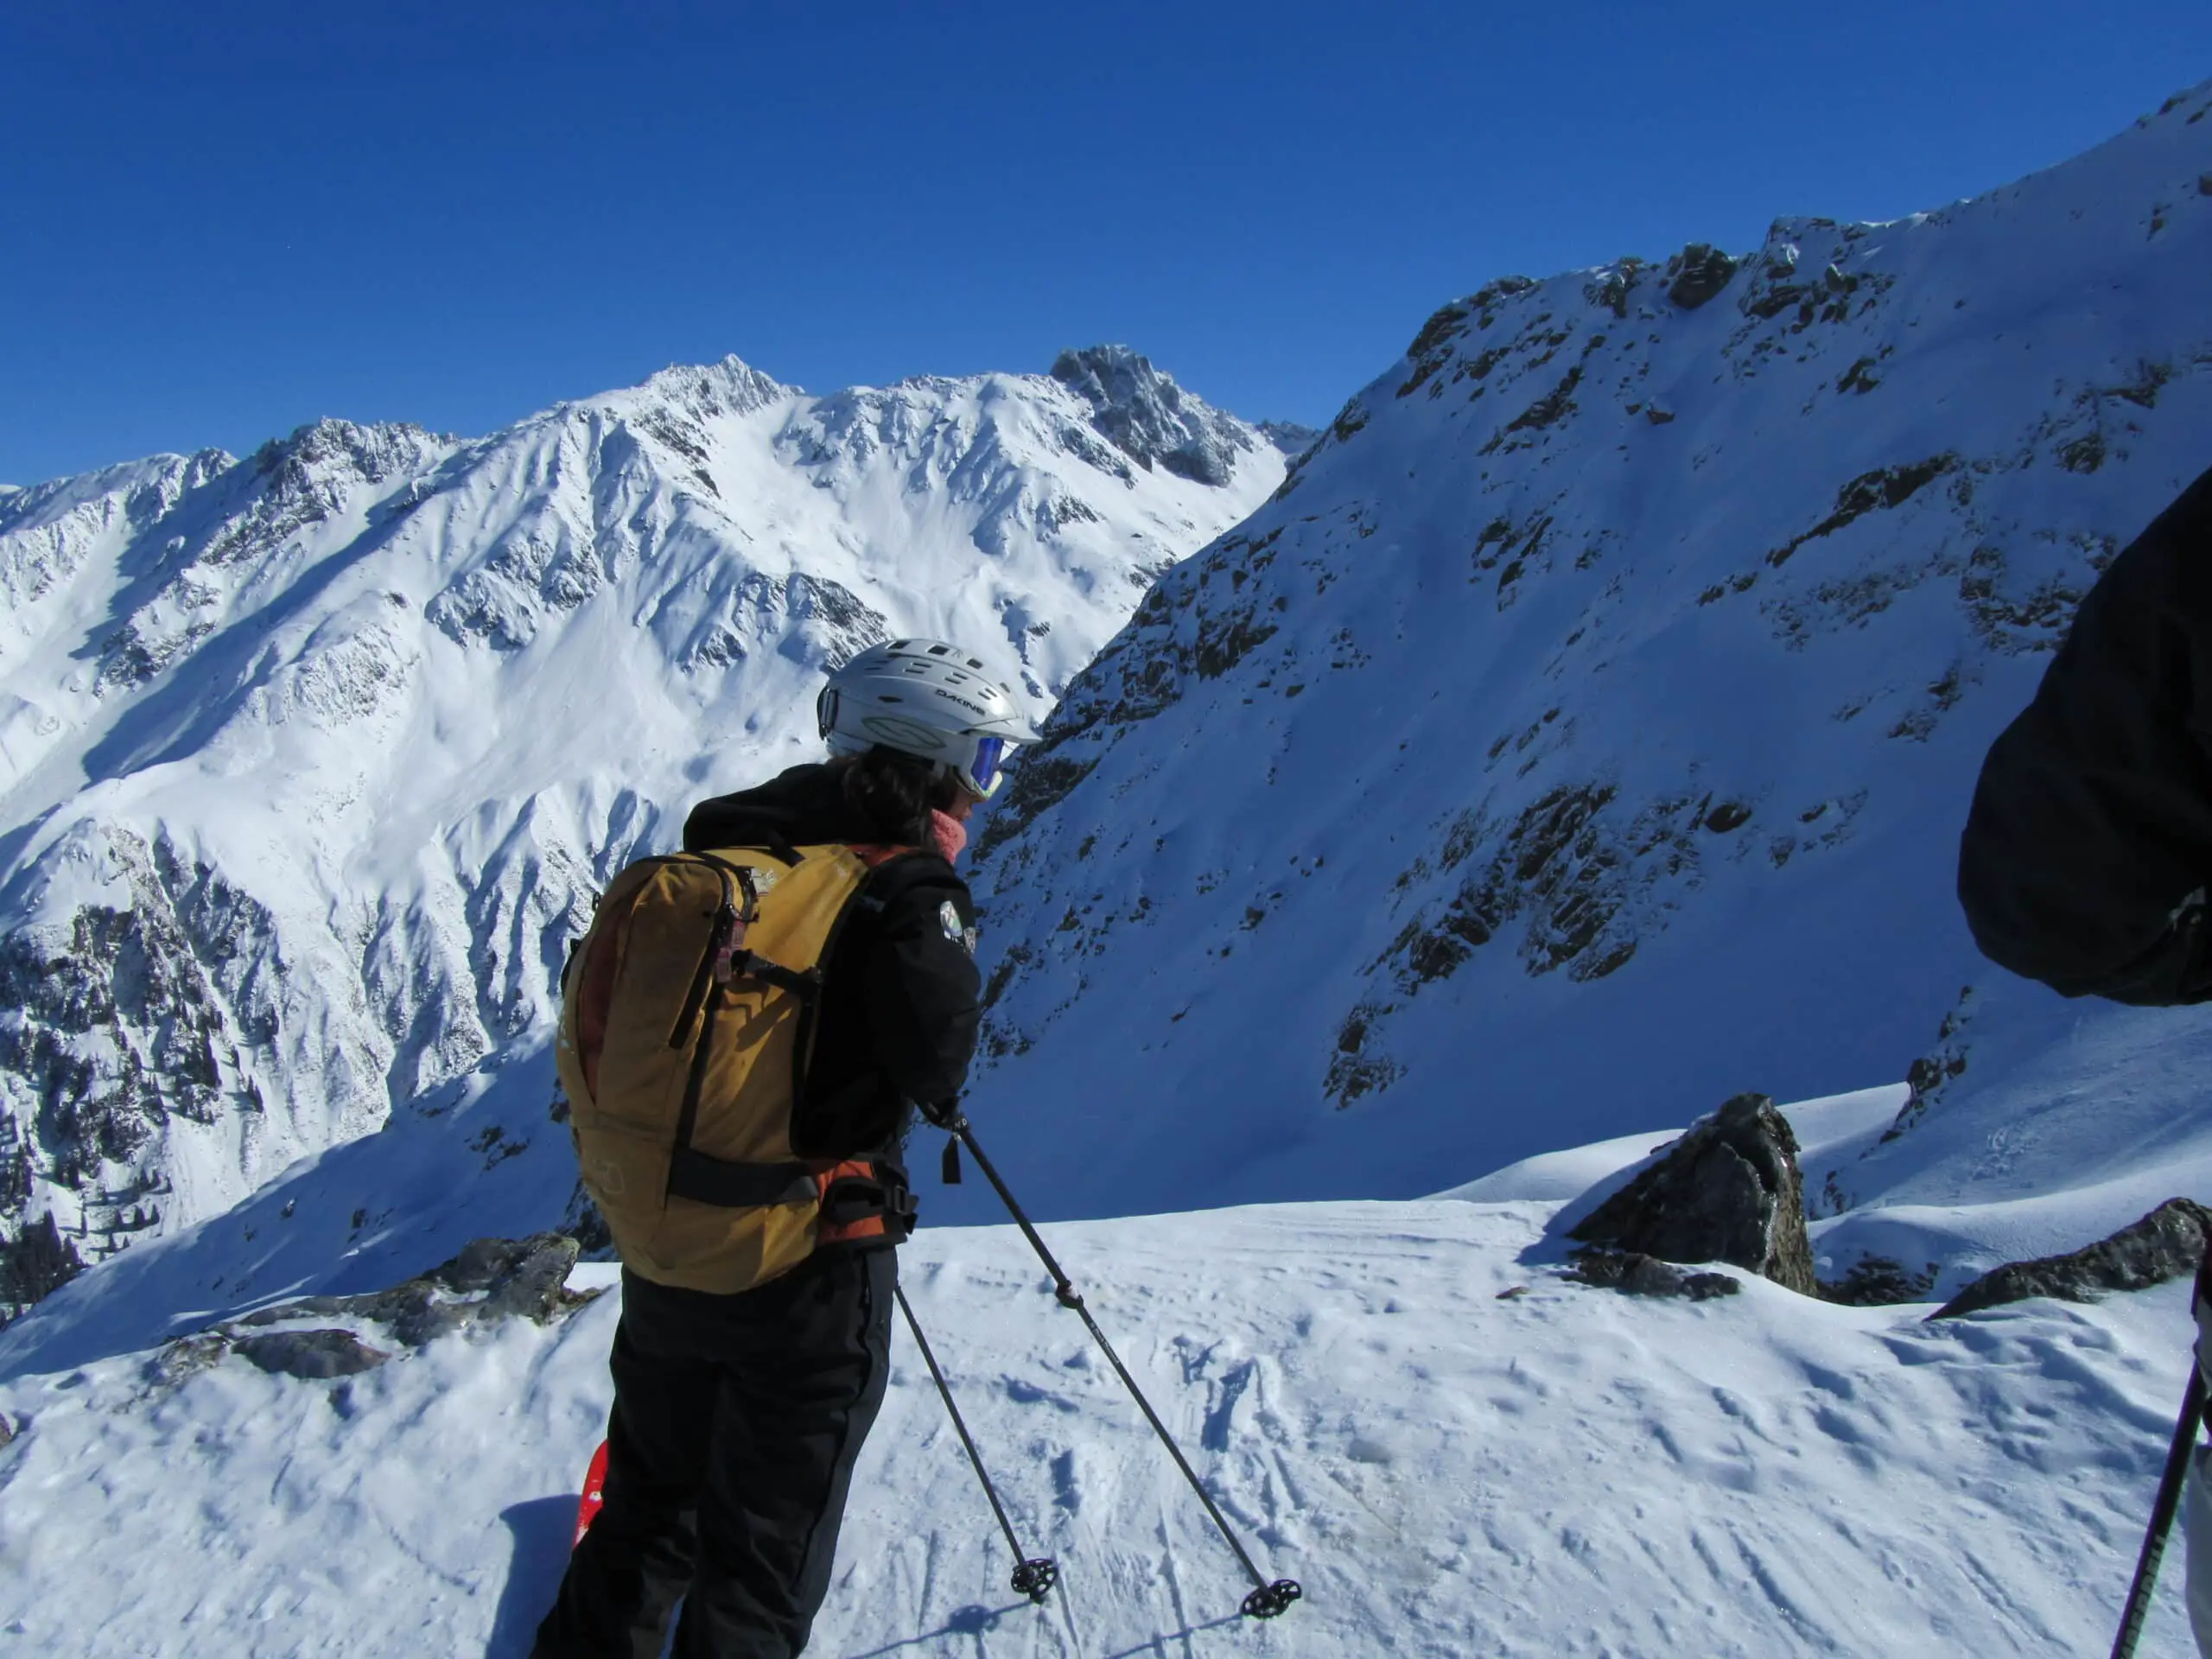
Freeride skiing is a type of skiing that is done on natural terrain without a set course, rules, or goals. It gets your endorphins pumping and gives you a great adrenaline rush.
This style of skiing is more difficult to do without owning some basic equipment. Some equipment is not only meant to make freeride skiing possible; it is necessary to protect you and ensure you’re freeriding as safely as you can.
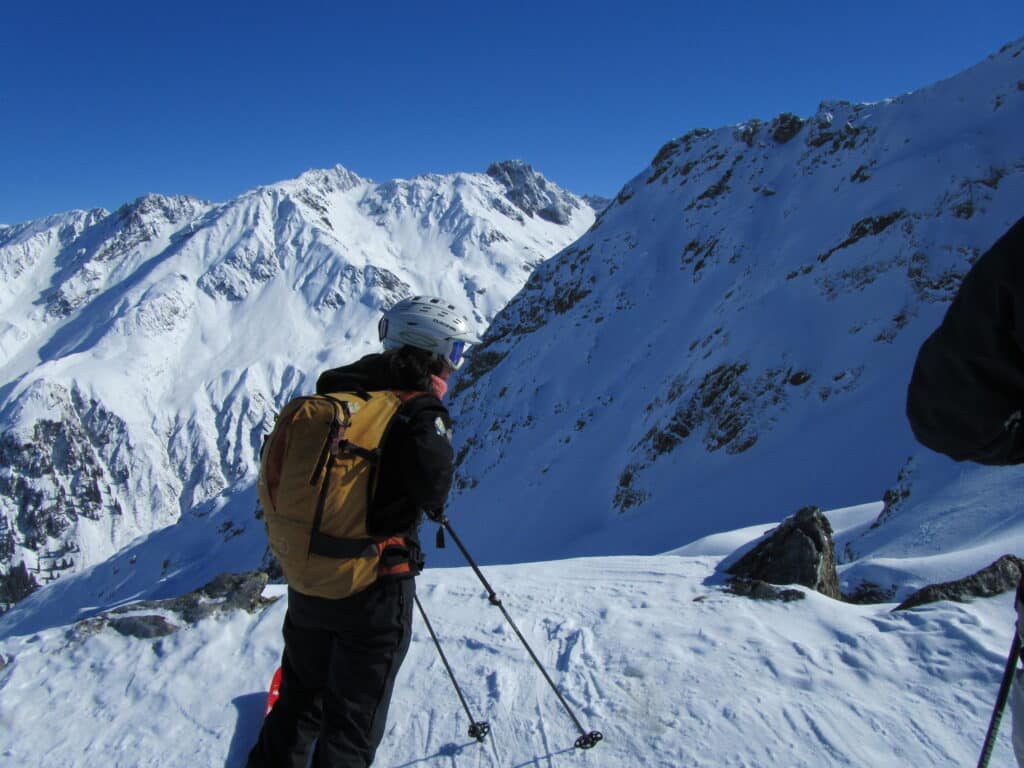
From freeride skis to avalanche equipment, we will cover the basic equipment you should have as a freerider, as well as a few other things you need to keep in mind. Plus, we will examine what you must do before going on a freeride tour. So, let’s dive in, shall we?
What Equipment is Necessary for Freeride Skiing?
To have a great time while freeride skiing, it’s essential to be equipped with the necessary gear. You will need at least suitable skis, poles, goggles, a helmet, and avalanche equipment. We’ll take a closer look at this gear.
Freeride Skis
As a freerider, your choice of skis is essential. There are different types of skis and some are suited for certain skiing types. Types of skis include:
- Racing skis
- Snow blades
- Freestyle skis
- Carving skis
- Freeride skis / Powder skis
- All-mountain skis
- Touring skis
These skis come in different sizes. Generally, the wider or longer they get, the more uplift they generate, making riding through deep snow easier. However, wider and longer skis have a lesser grip on a normal slope. Consequently, using them on a hard or icy slope may prove challenging.
When freeriding, you can use any of the above ski types except racing skis and Snow Blades. When riding on deep snow, using wider and longer ski types will prove advantageous as the additional uplift will make controlling and turning the skis in the free terrain much easier. All-mountain and fat/powder skis are in this category and that’s why we strongly suggest that you get yourself a pair of either all-mountain or freeride skis regardless of whether you are a beginner or an experienced freerider.
All-mountain skis are typically between 75mm and 95mm wide, while the pure freeride or powder skis are usually between 90mm and 120mm. Beginners who aren’t used to freeriding will find these skis a huge help and pros would never do without suitable skis either way.
Here’s an example of a typical all-mountain ski and a powder ski from Amazon.com
Since freeriders primarily use all-mountain and powder skis, we’ll take a close look at these two.
All-Mountain Skis
These skis are shaped in a way to use them for every route and terrain, and their versatility is quickly increasing their popularity. With a waist width between 75mm and 95mm, they are not as wide as pure freeride skis. Often they have more rocker than normal skis, but typically a little less than powder skis and a traditional camber for grip. All-mountain skis also regarding their stiffness between slope skis (e.g. carving skis) and the pure freeride skis which improves their grip on hard-packed snow compared to the pure-breed freeriders. Therefore: the stiff waists and their shape make them a little more difficult to control in deep snow, but they make them better to ride on harder terrain.
All-mountain skis are the most versatile skis and can be used in different conditions and terrain. Whether you use them in the park, on a slope, or in free terrain, you can trust them to suit you well. They have excellent floatation and are particularly good for staying on top of powder. These skis are our favorite choice for riding some powder when it comes along. If you want skis you can use on the slopes and outside the slopes, all-mountain skis are the safest bet.
Freeride or Powder Skis
Distinguished by their wide waists, fat skis are the ideal skis for deep powder snow. They have a waist width between approximately 95 and 130mm, giving them a wide radius of up to 30 meters. These skis typically have a significant twin tip, and some have a traditional camber. Although they aren’t suitable for hard slopes, fat skis are terrific for skiing in powder. They retain their versatility when used on a breakable crust or tracked snow and have amazing snow floatation.
So, which ski should you use for freeriding?
Fat skis are ideal for freeride skiing, as they have wider waists and are less rigid than all-mountain skis. Fat skis also have more rocker and their significant twin tips ensure you can jump and land backward. Besides that, they create a terrific spray in the powder.
So, if you want one pair of skis and sometimes do powder runs, all-mountain skis are the safest choice. However, if you’re solely riding outside the slopes, fat skis are the better choice.
Ski Poles
Ski poles are essential for balance and gliding and are commonly made from aluminum and carbon fiber. Although many beginners don’t use poles as they consider them bulky, ski poles are essential when skiing in hard-packed or powdery snow.
In freeride skiing, it’s vital to use poles longer than the ones you would use for on-piste. You also want light ski poles, with a little bigger disks that can help you push through the powder snow.
Helmet
Although freeride skiing is a fun sport, it is not without risks. Accidents can happen when you least expect them, from harmless tumbles to life-threatening falls. To protect skiers from head injuries, the National Ski Areas Association recommends that every freeride skier use a helmet. A good helmet will absorb the shock from any impact and can be a lifesaver.
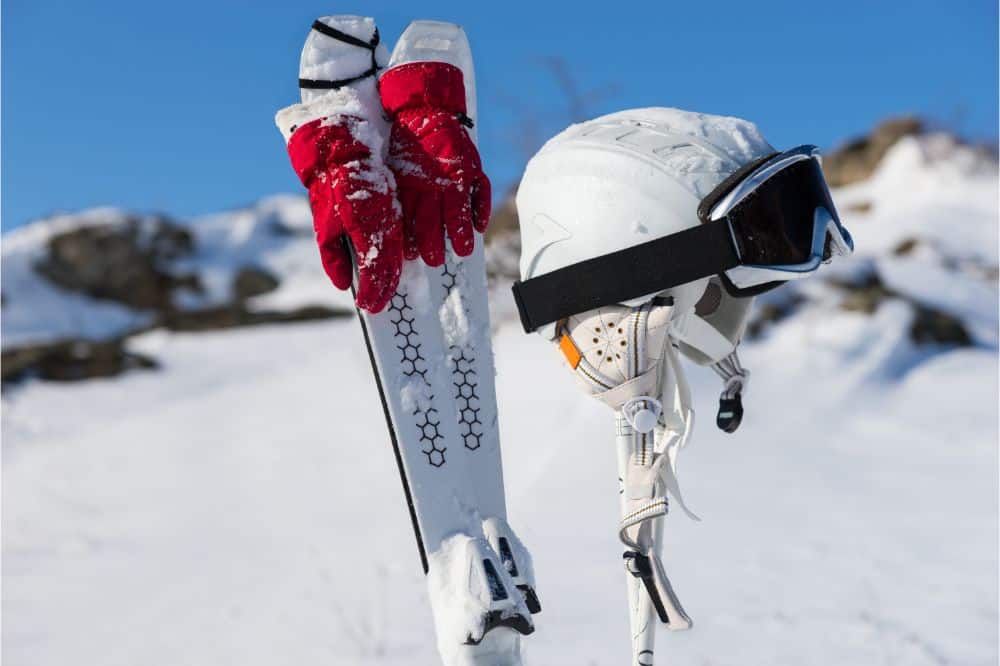
A good helmet should be protective and also comfortable. It should have inner linings and extra padding. Some have moisture-wicking that ensures you don’t sweat too much. While choosing a helmet, ensure it is compatible with your goggles. The helmet should completely cover your forehead and there should be no gap between it and your head.
Here’s a sturdy helmet from Amazon.com
Goggles
Good vision is essential when freeride skiing. You need freeride skiing goggles to protect your eyes against the snow and sun. While choosing your goggles, you must consider factors such as color definition, depth perception, eye fatigue, and the goggles’ fit. Generally, choosing a pair of goggles depends on your taste. However, ensure you choose one that fits your head and your helmet.
There are ski goggles that react to various light conditions called photochromic goggles. Goggles like the Julbo Skydome Snow Goggles react to changes in light in less than 2 seconds, and you don’t have to stop to change the lenses. Other goggles have interchangeable lenses, allowing you to choose the right lenses to suit different light conditions.
The Findway Ski Goggles is an example of ski goggles with interchangeable lens. The choice of ski goggles depends on your preference, taste, and what you’re most comfortable with.
Avalanche Equipment
Avalanche safety equipment is necessary, especially when touring outside secured ski resorts. The minimum avalanche safety equipment includes a transceiver, shovel, and probe. Avalanche equipment makes it possible to find and rescue people buried in avalanches. Every member of a tour should carry this equipment and train and know how to use the avalanche equipment correctly.
Avalanche Transceiver
An avalanche transceiver is worn under ski clothing and must always be switched on and in emitter mode. It helps find people buried in an avalanche and works with radio signals that transit, emit, and receive signals. It’s not enough for a freeride skier to carry an avalanche transceiver; they should also know how to use one. Avalanche transceivers are easy to use, but it’s crucial to have prior practice with them before using them in an emergency.
Avalanche Probe
The avalanche probe should be set with a quick-release system and should be at least 240cm in length. Longer probes are ideal in larger avalanche accidents, as you can push them in the snow and feel of a person is buried underneath it.
If the victim is near, the avalanche probe will be a valuable resource in determining their exact location. It allows you to assess the victim’s location and measure the depth at which they are buried.
Avalanche Shovel
An avalanche shovel is also standard avalanche equipment. Shoveling is crucial for avalanche rescue, and there are different types of shovels. Some are designed to be robust but lightweight and foldable. Others are rigid metal shovels. Generally, a detachable or foldable shovel is a better choice, as it is more portable.
Thermal Blanket
Thermal blankets are designed to keep you warm. In the case of an avalanche, you can wrap the victim up in a thermal blanket. Thermal blankets trap up to 90% of the heat radiating from someone’s body. After shoveling, using a thermal blanket to warm up a victim of an avalanche may be a lifesaver.
Mobile Phone and Area Map
Your smartphone can be used as a transceiver to track buried victims. They transmit a beep and help you find a beeping transceiver. Moreover, your mobile phone can be used to call for help. An area map can also be handy when searching for buried avalanche victims.
Other Avalanche Safety Equipment
Avalanche Airbag
This is also known as the ABS backpack. It is an avalanche safety accessory that complements the safety equipment mentioned above. An avalanche airbag can reduce the risk of complete burial in a sliding avalanche. Although ABS backpacks have different producers, the working principle remains the same in all models.
During an avalanche, you manually pull the handle of the ABS to release it. Two inflatable balloons of 85 – 90 liters at the sides of the backpack are formed, and they protect against injuries and an avalanche burial. The ABS helps you float near the surface of the avalanche and keeps your body above the debris (read here for more information on how they work exactly). An avalanche airbag offers the best safety in the event of an avalanche. As a bonus, you can store your avalanche equipment in the airbag.
A good example of an avalanche airbag is the Backcountry Access Avalanche Airbag.
What You Need to Do Before Going on a Freeride Tour
Study the Area
You should be familiar with the area before going on a ski tour. Ski routes are descents that are not groomed but are marked and secured. They are safe for you to follow. Carefully study the routes and mentally plan the course you’ll take.
Oftentimes, good snow and great descents are found in the open country which is neither marked nor secured. Making yourself familiar with where a descent starts and ends can help you easily navigate the area. It’s not enough to simply follow the tracks of other skiers, as you don’t know how difficult the descent in certain parts may be.
Avalanche Awareness
The safety of a freeride skier is paramount when freeriding. It’s important to stick to the safety instructions, as ignoring instructions can result in accidents. Before a tour, every freerider, including beginners, should know and fully understand the risks associated with freeriding. An avalanche course will teach you the practical and theoretical aspects of safety. The course will also teach you how to safely ski in freeride zones, how the weather affects freeriding, and how to read an avalanche situation.
Avalanches are classified on a five-level danger scale. Ranking them by level helps evaluate and determine the risk that comes with each avalanche. Each level indicates a different avalanche risk. Levels 1, 2, 3, 4, and 5 are low, moderate, considerable, high, and very high, respectively. The scale is generally used to assess the dangers of an avalanche.
When leaving marked and secured slopes, ensure that you’re aware of the avalanche level of the area you’re going. While taking cognizance of the avalanche level, you should also consider your descent.
Take a Guide
Beginners and those who haven’t done a course should hire a guide when freeride skiing. And always ski, at least, in pairs. Ski with someone who is more experienced and knows what to do in the case of an accident.
Conclusion
Freeride skiing is one of the most exciting ways to enjoy skiing and the fresh mountain air. It doesn’t matter if you’re a beginner, it’s hard to resist the freeride virus when you’ve had a taste of the sport. When done correctly, you can thoroughly enjoy freeride skiing without putting yourself at risk.
The skiing equipment discussed in this article is essential for any freeriding tour. However, you can adapt by adding extra accessories according to your tour plan, weather conditions, and preferences (go here to the Freeride Packing List). Beginners should ensure they take the necessary courses and always have a guide when freeriding.
Support us in what we do!
All the members from the Coolwatersports-Team love the sports about we provide information here on coolwatersports.com.
However, running this platform on the quality-level we want to achieve does cost some money and a lot of effort! But we hope that you find a lot of valuable information!
If you would like to support us and our work and get a cool T-Shirt, Longshirt, Hoodie or another product with an orginial design of our Team: visit our store!

